Pages

Monday, August 29, 2011

Review: Lotus Cafe (Jackson, WY)

Grand Teton National Park

During the epic road trip I recently took and also wrote about here, I decided to detour in such a way that I could visit Grand Teton National Park (and while I was nearby, Yellowstone so I could see Old Faithful, because why not?). I'm thankful that my travel plans worked out in such a way that I was able to stay in Jackson for a day and a half, so I would have time to actually explore Grand Teton.

Grand Teton again
As I was driving in, I hit an amazing amount of construction, which caused me to arrive about 2 hours later than I'd intended. My travel companion and I also got to drive down a 6% grade for almost 10 miles--unpaved. Fantastic. Fortunately, Jackson stays up later than Wall, South Dakota (no surprise there) and the magic of internet enabled phones allowed us to find a (gluten-free!) place to eat before we even got in--and verify that it was actually open--and vector us to our destination. We'd eaten a light lunch and mostly just wanted to be out of the car after driving a little over 10 hours (not including construction delays).

We would up at Lotus Cafe around 9 p.m., and our server was also the owner. She shared that she wanted to start a gluten-free (primarily, they do have glutenous homemade whole wheat bread and other items) restaurant because 1) there was the demand for it and 2) she couldn't eat gluten and struggled to find places. Most of the menu items could be made both gluten-free and vegan (or came that way with no option), though you could add meat (chicken, fish, bison, pork -- all organic) to most meals (or, if you preferred tempeh or French lentils).

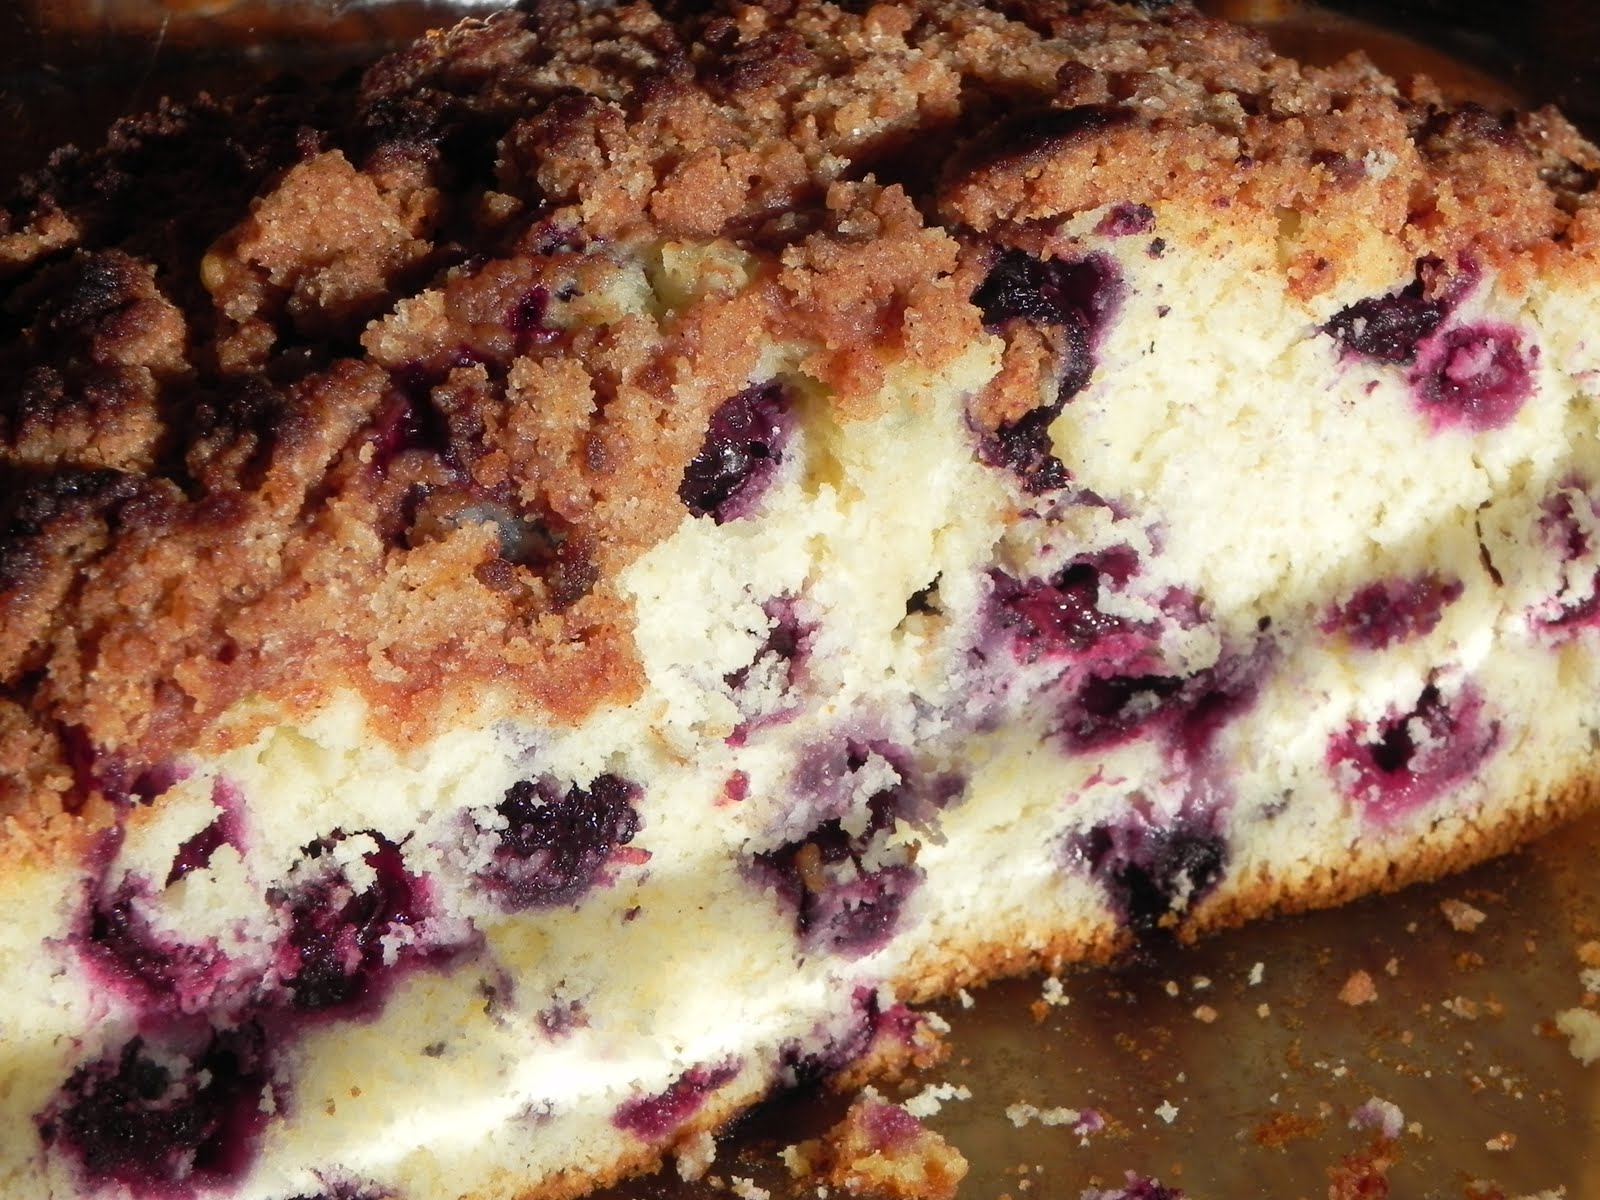
That evening, we split a 10" morel and spinach pizza, on a very thin and crispy rice crust, and a salad (baby spinach, dried cranberries, red cabbage slaw, feta cheese, cinnamon candied walnuts, & blackberry-balsamic vinaigrette). Delicious and served quickly. For dessert, we split a carrot cake (walnuts, dates, cardamom, & cinnamon, topped with coconut cardamom sauce). Heavenly.

Since switching to a (mostly) gluten-free diet, I've struggled to find things in restaurants I can eat--but it's worth it because my stomach's no longer upset, my joints don't hurt, and I'm not tired all the time among other things. So, I told my travel companion, this was the restaurant we were eating at while we were in Jackson. In the morning, we went back and got:

  • A rice-flour based gluten-free muffin with peaches and crystalized ginger (from the day-old rack, which we stuck in my pack for a mid-day, post morning hike snack).
  • Storm in the Tetons (after Old Faithful viewing)
  • Rawnola (oh my god, I didn't think I could have granola without gluten-free oats, now I'm trying to get my hands on a food dehydrator so I can make this from time to time without running the oven forever--recipe to come if I do) topped with coconut and almonds and served with rice milk
  • The Deluxe breakfast sandwich (egg, Daiya cheddar, baby spinach, ancho chili sauce, roasted garlic aioli, and homemade veggie patty sausage--brown rice, french lentils, spices)
My travel companion ordered coffee (it was served weak) and I ordered the chai. Go with the chai. It's strongly flavored was perfectly steeped both mornings I had it--and was lovely in the near-freezing morning air (despite August) the first morning we were in Jackson.

Old Faithful
We hiked and took pictures in the morning and then drove to Yellowstone to see Old Faithful, which isn't quite so faithful any longer. It erupts about every 93 minutes, give or take 10 and even with that allowance it went off about 10 minutes later than predicted. On our drive back, we saw bison at the edge of Grand Teton and a fantastic thunderstorm--a tree exploded within 20 feet of the road on our drive back. We ate the muffin (delicious) and a few snacks we had in the car, but didn't really eat much during the day. That night, we ordered the Bombay Bowl, a bowl of black bean soup, and an order of gluten-free garlic naan (sooo tender, i wish I knew how to make naan like this). Again, a delicious meal. Since we were both pretty hungry--hunger headaches had already set in--and Lotus Cafe was crowded, I also ordered a crimson (beet, green apple, ginger, & carrot) juice that we split to help tide us over.

Even with the crowd, we got our food moderately quickly. One of the things we noticed and appreciated about the Lotus Cafe is that everyone does everyone else's job on the floor. We had a wait person who was assigned our table, of course, but we never had an empty water glass, our finished dishes were cleared promptly, and at least three people verified we didn't need anything else. 

More Tetons!
Breakfast the first morning stood out, compared to breakfast the second morning--which was also tasty, but we weren't as hungry and the meal didn't seem as innovative. The blue-corn flapjacks are tasty and The Custom makes a fun alternative to the typical American (sweets, carbs) breakfast and would work well as a mid-day meal as well. 

But: long story short, I'd go back to Lotus Cafe (and Jackson, especially Jackson). Any time. 

For more pictures of Wyoming and the Tetons (as well as some tasty recipes), you can also visit my friend Annie's blog. She had the opportunity to go capture and tag butterflies there this summer and right before we both moved, I made her promise to show me pictures. We didn't get to it (sad!), but hopefully I'll see the rest of the pictures soon.

Friday, August 26, 2011

Review: Tally's Silver Spoon (Rapid City, SD)

Badlands National Park
Recently, I took an epic road trip and during this road trip had the opportunity to eat out a couple of times--another review to come soon! One of the places I ate was Tally's Silver Spoon in Rapid City, South Dakota. I arrived early, after driving from the Badlands and Wall Drug, which inconveniently didn't open when I was 1) ready for breakfast--and preferably something different than the corn tortillas with nut-butter I'd had for dinner-- and 2) ready to get on the road. Since Rapid City had more promising gluten-free options, it seemed well worth just getting on the road.

Tally's Silver Spoon --  "Born with a silver spoon" in one's mouth, and the privilege issues associated with that, come to mind. But also, for me at least, this called to mind the somewhat typical greasy-spoon diners that seems so common on the road. But Tally's is certainly not the second (though it may be closer to the first). Inside the restaurant, the design is close to Danish Modern, with chrome colored tables, black and white, and a lot of odd curves and straight lines. Fresh-cut flowers on the table.

The menu at Tally's changes weekly, based on what's fresh and available. They support local growers and businesses as much as possible and the menu reflects this. And it's clear that when the chef was hired s/he was told "have fun." The menu is creative and while there were breakfast staples on the menu (eggs with meat and toast, for instance--but creatively done), there were also things like Beignet sliders and breakfast risotto. They  pour Douwe Egberts coffee, which reminds me of undergrad (my only fond memory of undergrad) and is one of my favorite coffees for its smoothness and flavor.

I had the Vegetable Breakfast, "garden greens, vegetables, herbs, shoots, sprouts, hollandaise, sweet potatoes, sunny egg, toast" with the toast substituted (at no extra charge!) for a beautiful cup of seasonal berries. My travel companion ordered beignets (eat them while they're hot, and it's a large order so maybe make it a meal or split them with someone), which at Tally's are more like cake donuts (very good cake donuts, apparently) than the fluffy pillow beignets that are so popular in St. Louis. He also ordered the Fishmonger “Day’s catch”, mussels, shrimp, salmon, potatoes, avocado, red pepper, lemon & dill cream, poached eggs, toast,"which was plenty of protein for at least two people.

In short, if you find yourself in Rapid City, give this place a try, especially if you're aiming for something gluten-free. The chef had no problem making changes, the food was beautifully presented and tasty, and the server was courteous and attentive.

Thursday, August 18, 2011

Review: Chebe Focaccia Bread (#1)

Recently, I decided to buy Chebe, which provides a variety of gluten-free bread mixes and (apparently) frozen goods. I hadn't tried anything by this brand before, but I've been craving gluten-free bread that isn't corn tortillas. Not that there aren't other options out there--and plenty of them--but while I'm staying with friends, I'm trying to minimize the number of things I buy and leave in their refrigerator--and the size of the messes I make in their kitchen.

The Chebe mix I bought, Focaccia  bread, looked easy enough: oil, milk or milk substitute, eggs, Parmesan cheese (optional). And it was supposed to cook in 35 minutes. I didn't have eggs though, so I decided to use the standard flax seed egg replacement and hope it worked.

I made up the mix as directed except the flax seed eggs. I used almond milk, since that's what I had, and olive oil . I topped the focaccia with garlic powder. I also wound up needing almost 2x the amount of liquid recommended.

The result: very crunchy (think crunchy-crust pizza with me) on the outside and yet almost doughy on the inside. I'd give it another try though--things don't always go amazingly in my friend's oven--rather than count either of these things against the Chebe mix. The flavor was good enough and my friend Lauren (who I ate dinner with) said it was "really good," while my friend who I'm staying with walked into the kitchen and said, "Whatever you're cooking smells amazing."

In short: It didn't turn out like focaccia at all (though I do think it would make a good GF pizza crust), but before I condemn it, I'd give it another try in a more reliable oven, and possibly with eggs instead as well. If I do this, I'll update the post, or make another post with a picture of the baked focaccia. The flavor is strongly rosemary, so if you're not a fan of this herb you might not like this bread mix. Just a warning.

Tuesday, August 16, 2011

Maine Blueberry Crunch Cake

A few years ago, I was visiting family in Maine and had the opportunity to go to a church-sponsored lobster roll feast. Here are a few things you should know:

1) I love Maine. As much as I'm ready to give up (Midwestern) winters, you could probably offer me a job in Maine (coast Maine, just so we're clear, because that's the only part of the state I'm familiar with) and I'd take it in a heartbeat--even if that meant winter galore.

2) I love my family's house in Maine. My cousins own the place and it's a gorgeous old white home on the Sheepscot River. And I love their old sailboat. And kayaking with them. I wish I saw them more.

3) I love Maine blueberries and spent a lot of time harvesting them on the trip I'm writing about, along with tart cherries from their cherry tree. Maine blueberries, lowbush blueberries, are tiny little blue pearls that grow in blueberry barrens. A side note: My friend John is from a town in Michigan which hosts a blueberry festival (they grow a ton of blueberries there) and whenever I hear this mentioned, I am skeptical that his blueberries are as good as the ones I picked in Maine.

4) I do not love lobster.

But enough of listing (5 - I really like lists). So, this church-sponsored lobster-roll feast was down the street from my cousins and I went to it on my way out of town on my last day. For some small fee ($5 comes to mind, but this was in 2008 so I might be wrong) I could get a lobster roll or (_______ something else, but don't remember what -- something also "Maine-ish"), a drink and chips, and a large chunk of blueberry cake. Blueberry cake seems to be served with most meals in Maine -- certainly this is pretty typical of what the lobster shacks offer with their combo meals.

After I ate, I asked about the cookbook they had for sale. Were the things I'd just eaten found in the cookbook? The people selling the cookbook--and other miscellaneous items, typical of what you'd find at any church basement sale, assured me this was the case. I bought the cookbook.

6) I also love church cookbooks that are highly regional. There are a couple of great recipes and a bunch of horrible ones that make me laugh.

I tried several of the blueberry cake/bread recipes to no avail and gave up on it when none of those recipes worked. The cookbook moved to the Midwest with me and I didn't touch it for three years. But the other night, my mozzarella-buddy and I decided to try and make one of these recipes again. Two weekends ago, she went blueberry picking at a local berry patch and wound up with gallons of (now frozen) blueberries.

Although I'm making a point of avoiding gluten, I did try a small bite of this to see if it was the recipe and I believe it is. This is the original recipe (with a few corrections, since, for instance, the version in the cookbook doesn't tell you when to add the egg) and in a couple of weeks I hope to post a gluten-free version. The recipe comes from the 175th Anniversary of the Southport Methodist Church cookbook, and was contributed by Joyce Duncan. The batter is ridiculously thick. Don't worry about it. It all works out in the end.

Maine Blueberry Crunch Cake
1 1/4 cup sugar
2 1/3 cup all-purpose flour
1/4 cup butter
1 teaspoon cinnamon
1/4 cup shortening
1 egg
1 teaspoon baking powder
1/2 teaspoon salt
1/2 cup milk
2 cups blueberries

For the topping: mix together 1/2 cup sugar, 1/3 cup flour, butter, and cinnamon. Set aside.

Sift together remaining flour, baking powder, and salt. Mix remaining shortening until light. Add the egg and beat until incorporated. With mixer on low (or by hand, if you're me), add flour mixture alternately with milk until just blended. Stir in blueberries. Pour into greased 7 x 11 pan. Sprinkle on topping and bake at 375 degrees for 35 minutes. Allow to cool 10 minutes before serving.
Despite the thick batter, look at that crumb!

Saturday, August 13, 2011

Basil Lemonade


A couple of weekends ago, I was walking around the Main Street Farmer's Market in my town and the co-op was selling basil lemonade. Oh, goodness this sounded refreshing--at 7 a.m., it was already in the mid-80s, and by the time I was walking around the market, it was past 7 a.m. The heat index for the day reached nearly 120. I live in a part of the country where not everyone has air-conditioning because this type of thing doesn't happen. Oh global warming, you make the summers icky.

I walked up to the co-op tent (where I knew all the workers), ready to buy lemonade, only to be informed they'd already sold out. It wasn't even 11 yet and the market runs until 1 p.m. Sadness! Because I knew these workers, I made sure they were holding up okay in the heat and went on my way.

Basil lemonade isn't hard to make. I've made it before -- I just wanted the convenience of being able to buy a $2 glass while I wandered around the market making other purchases (namely salad greens. I'd come into a bountiful supply of produce from a CSA share, given to me by a friend who was going to be out of town).

There are two basic methods for making basil lemonade. If you live in a place where you can get a good supply of fresh lemons, I highly recommend you make lemonade from scratch, so you can have it as sweet or tart as you like (and let's face it, fresh lemonade is amazing). I don't live in such a place, so here's what I did.

Basil Lemonade
1 quart low-sugar lemonade
1/3 cup (or to taste) real lemon juice (mine came from a bottle, for convenience and cost-efficiency)
1/2 cup (or to taste) freshly chopped basil

Mix all of these ingredients together in a container large enough to hold everything and allow the flavors to combine for at least 45 minutes before serving. Serve very cold. Will keep for several days.
Cool and Refreshing. Especially served in a mason jar!

Friday, August 12, 2011

An Experiment in Mozzarella

A friend and I decided to try our hand at making mozzarella this weekend. Cheese-making has been on my must-learn list for a while, so I was thrilled to learn a friend had the same desire. We looked up a recipe in a cheese-making book, which called for a special mozzarella starter. Our reaction, ha. One, we weren't sure where we would find this if we did want to use it (to the best of my knowledge, our food co-op doesn't carry such things though it does carry rennet*--which I already owned--another necessary ingredient). Two, we didn't need enough starter for 13 gallons of milk (which is apparently what most starters provided). And three, we imagine ourselves better at making-do than that.

We knew recipes existed that didn't call for starter. We remembered reading them. Specifically, we both remembered reading about such a recipe in Barbara Kingsolver's Animal, Vegetable, Miracle, which was taken from Ricki Carroll's book Home Cheese Making and which I've copied below. We looked up the recipe for 30-minute mozzarella and that was the recipe we tried. The recipe didn't specify what type of millk to use (i.e. - whole or skim or other), so we used 2%. According to the New England Cheese Making website, it doesn't really matter after all.

This recipe also calls for citric acid. We were skeptical. My friend asked if we could use lemon juice instead. Maybe? Probably not? We weren't sure and before experimenting too much (or, looking it up on the internet), we decided the easiest thing to do would be buying the amount of citric acid we needed from the bulk section of our co-op. It cost less than $1 for a lot more than this recipe calls for--but when I went to buy it, I bought extra on the chance/hope that it would go well and we'd make this again before I moved.

A friend of mine--and I use the term loosely, since I haven't talked to her in three years--makes goat cheese mozzarella with milk she gets from her small flock of Nubians (floppy eared goats, very popular as dairy goats). When she first told me about this, I was both impressed and skeptical. She said it used a lot of water and that the first few attempts had turned out poorly. I wondered what goat's milk mozzarella would taste like.  If you're interested, here is a link for a goat's milk mozzarella recipe--using a starter--from Mother Earth News. For this post, I tried to find out more about the farm my friend runs, Contrarian Farm, near Pittsboro, North Carolina--but could only find a few useful fact-lets about it on the interwebs. If you live near there though, I know they used to show up at the Pittsboro farmers market and I'm guessing they still do--there are enough recent entries on the internet about the farm and its owners. My friend also used to raise meat bunnies.

*Rennet, traditionally, comes from the stomach-lining of young calves, as a by-product of veal production. The rennet we used was a vegetarian rennet. There are a few varieties of vegetarian rennet. Vegetable-based rennet comes from plants with coagulating properties, such as thistles, nettles, and mallow. They can also be grown from microbes, such as Rhizomucor miehei. The type we used ("double strength" where 1/8 teaspoon will coagulate 2 gallons of milk) comes from this type of microbe.
Our Super-Strong Rennet

Mozzarella
1 gallon pasteurized milk (NOT ultra-pasteurized)

1 1/2 level tsp. citric acid dissolved in ¼ cup cool water 

Stir the milk on the stove in a stainless steel kettle, heating very gently.  At 55° add the citric acid solution and mix thoroughly. At 88° it should begin to curdle. 

¼ tsp. liquid rennet diluted in ¼ cup cool water

Gently stir in diluted rennet with up-and-down motion, and continue heating the milk to just over 100°, then turn off heat. Curds should be pulling away from sides of pot, ready to scoop out. The whey should be clear.  (If it’s still milky, wait a few minutes.) Use a slotted spoon to move curds from pot to a 2-quart microwaveable bowl. Press curds gently with hands to remove as much whey as possible.  
Just starting to form curds
Use the pot of hot whey on the stove for the heating-and-kneading steps. Knead the cheese with hands (rubber gloves would be good, according to Ricki Carroll) or a spoon to remove more whey. Put the ball of curd back in with a big slotted spoon, and heat it until it’s almost too hot to touch.  Good stretching temperature is 175 degrees. Repeat 2 times, kneading between each time.
It shouldn't look like this once you've pressed it out (attempt 1)
At this point, salt the cheese to taste, then knead and pull until it’s smooth and elastic. When you can stretch it into ropes like taffy you are done. If the curds break instead, they need to be reheated a bit. Once cheese is smooth and shiny, roll it into small balls to eat warm or store for later in the refrigerator.


***
The first time we made this, we overworked the cheese. The second time, we worked it less, got it hotter, and it made the process much easier. The cheese looked and pulled like taffy and we can't wait to make it again. Tomorrow.
We have smooth, shiny mozzarella balls (attempt 2)

Monday, August 8, 2011

Tortillas with Stone Fruit, Mixed Greens, Goat Cheese, and Sun-Dried Tomatoes

Okay, so strictly speaking the tortillas aren't critical. But they make a nice base for this light, simple summer meal. You could certainly use flour tortillas, but since I'm avoiding gluten and rice tortillas are really kinda expensive to buy, I'm featuring this using corn tortillas. The tortillas also make great absorber of stone-fruit juices.

The stone fruits, if you're not familiar with the term, include: nectarines, peaches, and plums among others. You can also include the almond, olive, cherries, and elderberries. Probably any of these things (except maybe the almond) could work in a variation of this dish. I've had this to eat a couple of days in a row now, which may speak less to it's goodness (though I do think it's good) than to my transient state of being. I don't want to have a lot of ingredients on hand, take up much room in other people's refrigerators, or feel like I'm weighted down by food. The sun-dried tomatoes and stone-fruits in this dish would make me think of summer even if I ate this at a different time of year (and thanks to the wonders of mass transportation of veggies, I technically could eat this any time of year, but I don't think I will).

Last summer, I made a ton of oven-dried tomatoes when I had a vendor who would sell them to me cheap (a large box of "cooking" tomatoes--meaning ones that were bruised, split, or otherwise ugly--for less than $5). But I haven't lucked out in that way this summer. Instead, I've been buying my sun-dried tomatoes from an Italian foods market for an incredibly reasonable price. Needless to say, I've used fewer sun-dried tomatoes this year than in previous years. Oh, how I yearn for the day when I have a garden of my own and a bunch of tomatoes! In this dish, sun dried tomatoes add a nice earthiness and color to the top of your salad-on-a-tortilla.

This Goat is Trying to Eat my Camera Strap
Marinating the stone fruit in agave, honey, or another sweetner allows the natural juices of the fruit to be released from the cells--the technique is called macerating and if this seems unfamiliar to you, this same technique is often used with strawberries meant to top waffles, ice cream, or angel food cake. For best results, you'll want to chop your fruit moderately finely (smaller than the fruit--peaches--I show in the pictures here).

When I make this dish, I think of my friend Brenna and her boyfriend, Will. This past November, they braved a wet, Midwestern late-fall day to trek two hours west with me to visit a goat farm. We all fell in love with goat cheese that day--I liked it already, but didn't realize that as goat cheese ages, it becomes "goatier"--the quality I didn't like in some goat cheeses.

Tortillas with Stone Fruit, Mixed Greens, Goat Cheese, and Sun-Dried Tomatoes
4 8-inch tortillas (I use corn, but you could use rice, flour, or another type)
4 peaches, plums or nectarines, or a combination, chopped and marinated in 2 teaspoons agave or honey for at least 10 minutes
8+ ounces mixed greens (feel free to use more, especially if you're opting out of tortillas entirely)
2 ounces soft goat cheese*
3-4 sun-dried tomatoes, cut or sliced into very thin strips
Balsamic vinegar

Place each tortilla on a plate. Spread 1/4 of the chopped fruit on each tortilla and allow to rest for 5 minutes, so that the juices begin to saturate the tortilla. (If you're not using a tortilla, you might want to place the chopped fruit on top of the salad greens).


Add 1/4 of the mixed greens on top of the fruit, on each plate, then crumble 1/2 ounce of goat cheese on top of the greens.

Arrange the sun-dried tomatoes over the greens and goat cheese, then drizzle with some balsamic vinegar, to taste. Serve.

*To make this vegan, make sure you use agave instead of honey, tortillas made without animal products (i.e. lard), and instead of soft goat cheese, leave it off entirely or mix vegan cream cheese with some fresh herbs. This last variation is what I've done twice now, using plain Tofutti Better Than Cream Cheese (because I had that on hand).

Saturday, August 6, 2011

Chocolate-Dipped Frozen Banana Bites

Banana Bite with Sprinkles
A while back, my friend Annie made chocolate-dipped frozen banana bites and brought them to a party. I'm not sure which website she found the idea from, otherwise I would try to credit that as well. However, there are a lot of variations of this recipe out there. Annie was trying to clear out extra ingredients from her kitchen before she went to Wyoming.

These banana bites are simple to make and fun to eat. I say this even though I stopped eating bananas earlier this year, after deciding that I couldn't support them ethically (even fair trade bananas have their issues) or environmentally. When I eat bananas in the future (I decided), I planned to eat ones that are not the traditional Cavendish bananas sold in stores--there are so many varieties, and eating other varieties may encourage their sale. (I could go on about this, but it's just as easy for you to Google the problems behind Cavendish bananas, if you're interested.)

However, when the local store has a bin of bargain bananas (99-cents for a 1/2 peck because they're going brown) and when I'm babysitting a 2-and-a-half year old and a 5-year-old 40 hours a week, and when the Midwest is (was) in the middle of a major heat wave, I'm willing to compromise my banana-thoughts. Especially when I'm not the one buying the bananas.

Here's what happened:

Mom of the kids brings home the 1/2 peck of bananas, after a trip to the grocery store and says: "I thought you could make make banana muffins or something with the kids. O really likes to stir." And I say, "Sounds great. I'd love to."

However, the kids did not want to make banana muffins. So I sliced three or four of the bananas into 1/2-inch  slices and melted some chocolate. I dipped the banana slices into the chocolate and shook off the extra. For the toppings I used: sprinkles, coconut, or sunflower seeds (one topping per banana slice). Then I froze the banana slices until the next day--but I've read that this could be done in three hours. The next day, chocolate-dipped frozen banana bites made a perfect treat after a couple hours playing at the park when the heat index was in the mid-110s.

For my banana bites, I only dipped the bananas in halfway and some of my slices were probably closer to 1-inch. Here's what you'll need:

Chocolate-Dipped Frozen Banana Bites

1 cup bittersweet chocolate chips
2 tablespoons canola oil
Assorted toppings (chopped salted peanuts, salted sunflower seeds, shredded & unsweetened coconut, sprinkles, mini M&Ms, toffee candy bites, etc.)
3-4 ripe bananas, peeled and cut into 1/2-inch-thick slices

Microwave the chocolate and canola oil on high for one minute and the stir until the chocolate is smooth and the oil is incorporated. You don't want the chocolate too hot, but if all the lumps don't disappear after about 1 minute of stirring, microwave on high for an additional 15 seconds.

Place each topping in a shallow dish or on a plate. Line a baking sheet with foil or waxed paper and then arrange the banana slices on the foil. Using fingers, dip one banana slice in chocolate, coating halfway. Shake off excess chocolate and then dip in one topping. Using other hand, sprinkle more topping over banana (if desired). Transfer to the foil-lined sheet and repeat with remaining bananas. Freeze until firm. Pull out 10 minutes before serving so the banana can soften slightly.


Friday, August 5, 2011

Urban Art

Kirksville, MO
Columbia, MO
Recently, as I've walked around my town, I've noticed more graffiti. This makes me happy, but only because it's tasteful graffiti. The paint isn't drippy looking and it seems to be placed in tiny places that you wouldn't necessarily notice if you weren't looking. I've seen similar graffiti in other towns, including Columbia, MO and Nashville, TN. It's a lot of places, of course, but you have to be on foot (for the most part) to notice these stenciled graffiti "bombs."

These graffiti stencils say something and most aren't tagged with an artist's signature of any sort. Maybe I like this about them as well. It seems a little more universal that way, like (I'd argue) art should be, a little more like I might know the person who created the graffiti. And who knows, maybe I do. From what I can find out, many of the graffiti stencil bombs are created by graphic design majors (or just people who happen to be pretty good at GD) and I know a number of people I'd include in that category.

However, even graffiti on the trains that run through town make me happy, when the graffiti artist was talented. There's something I envy in the images or words on these trains, in the ability to create clean art with a spray can and a metal surface--when I wouldn't even be able to create a replica on a sheet of paper. I envy the illicitness of the activity (and resent that it's illicit at all--cities and other municipalities which employ their graffiti artists to create murals make me happy because these actions help make graffiti art more legitimate in the public eye).

But, I also happen to really like graffiti. A year ago, I had the opportunity to drive around southern Iowa and somewhere near Kalona there's a fantastic barn covered with graffiti. I wanted to get a picture of it, but I wasn't the driver and couldn't convince the driver to stop. Alas.

That's not to say I love (or even like) all urban art. Far from it. Some of it is offensive, or shows no talent, or is just paint on public property. A couple of summers ago, the playground I grew up playing on -- one located in the middle of a neighborhood -- got graffitied with blue paint. No images, no words, just paint on equipment.

Anna Helping Show Off Guerrilla Knitting
If you google "urban art" you'll find entries for the Urban Art Awards, Street Art Awards, and others. Perhaps the most famous (currently) of the urban artists is Banksy, a British street artists whose work you may (or probably) recognize. There's also JR, a French artist. His TED talk, Use Art to the Turn the World Inside Out is worth viewing, if you haven't watched it. But you may also start to find things about "yarn bombing." Guerrilla knitters, and others, yarn-bomb everything from street lamps to cars. The point: to make
the world a little more beautiful, to add visual interest. To help us open our eyes.

The images below are graffiti stencils I saw on my way to my food co-op this morning, to buy cream so I could make butter with a little boy I've been watching this summer (that project was a success). He watched the train (also graffitied) and I took these pictures. I've also taken pictures of an angry trash can, a fighting (but not ninja) turtle, the oil bottle shown above, and others. I like taking pictures of urban art and you'll probably see more of these images on this blog over coming weeks and months. I'd love to know your thoughts about urban art.